Sharpening and reducing noise in raw camera files

You can sharpen raw camera files to enhance image edges.

Raw camera files may contain luminous (grayscale) and color (chroma) noise that is especially obvious in the darker areas of an image. Luminous noise appears as a “white snow” effect; color noise appears as random pixels of different colors scattered against image areas. You can reduce noise in raw camera files to improve image quality.
CorelDRAW raw noise remove Sharpening and reducing noise in raw camera files

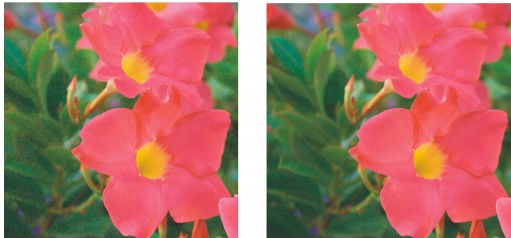
Before (left) and after (right) the amount of noise is reduced in a raw camera image


To sharpen a raw camera file

CorelDRAW btnbacktotop Sharpening and reducing noise in raw camera files
1.
 
Click File CorelDRAW onestep Sharpening and reducing noise in raw camera files Import.
2.
 
Select the raw camera file or files that you want to import, and click Import.
3.
 
In the Camera Raw Lab, click the Detail tab.
4.
 
Move the Sharpness slider to enhance the edges in an image.

To reduce noise in a raw camera file

CorelDRAW btnbacktotop Sharpening and reducing noise in raw camera files
1.
 
Click File CorelDRAW onestep Sharpening and reducing noise in raw camera files Import.
2.
 
Select the raw camera file or files that you want to import, and click Import.
3.
 
Click the Detail tab.
4.
 
Move any of the following sliders to the right:
Luminance noise — to reduce the amount of luminance noise
Color noise — to reduce the amount of color noise. Note that higher settings may decrease the color accuracy of an image.

CorelDRAW tip Sharpening and reducing noise in raw camera files

 
Adjusting both the Luminance noise and Color noise settings produces better results.

Sharpening and reducing noise in raw camera files